A pizza box, the back of a broken corner cabinet, and some burlap walk into a bar. Sounds like the start of a bad joke, right? It is actually the start of one of my favorite DIY projects: a wall-mounted mail center built almost entirely from things that were headed for the trash.
I love the puzzle of upcycling. You look at a pile of unrelated leftovers and ask: what does this want to be? In this case, I had the back panel of a lazy susan cabinet that arrived broken during our kitchen install, plus a narrow, forgettable slice of wall by our front door that needed something flat and practical. A mail center was the obvious answer.
Why Every Entryway Needs a Mail Center
Mail is sneaky clutter. It arrives daily, lands on the nearest flat surface, and within a week you have a leaning tower of envelopes, flyers, and bills you swear you will sort “later.” A wall-mounted mail center stops the pile before it starts. Everything has a home the second you walk in the door: today’s mail in the holder, keys on a hook, a quick note on the chalkboard.
The best part? This one cost me almost nothing, because the main materials were scraps.
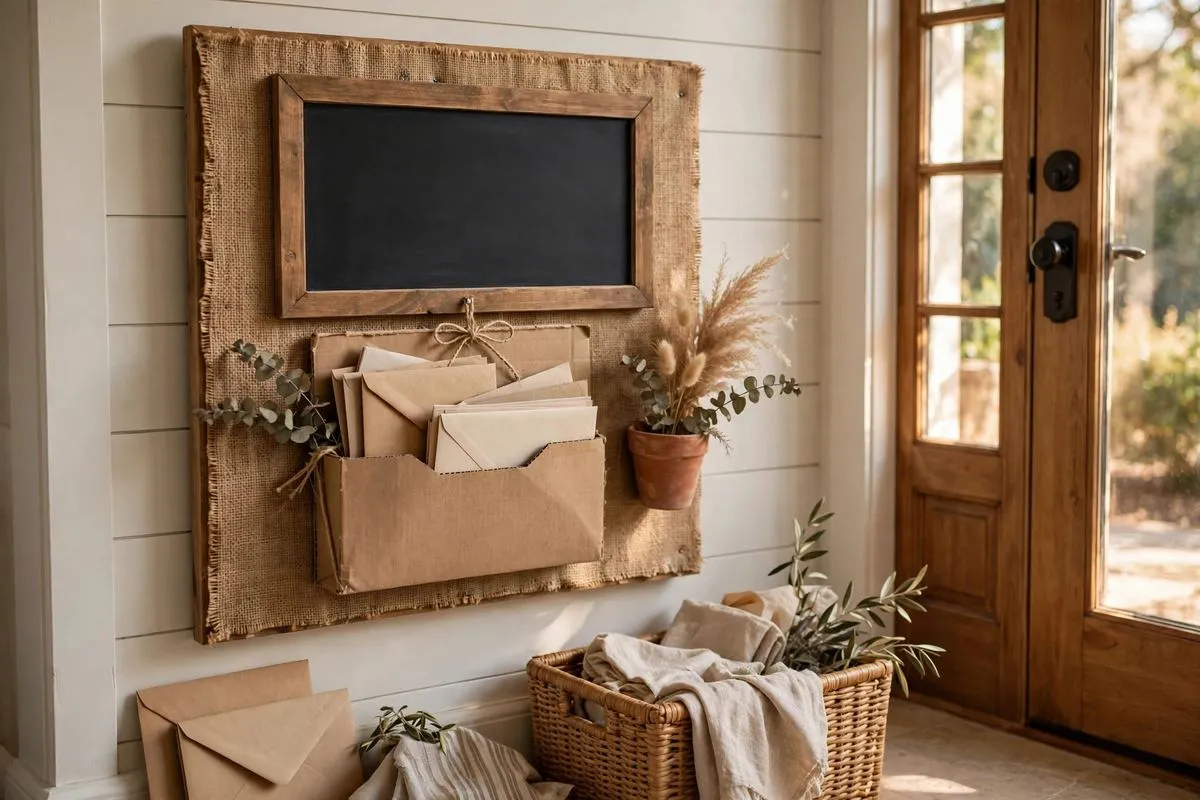
What You Need
- The back panel of a cabinet (or any flat board about the size you want). Mine came from a broken lazy susan cabinet. If yours is real wood or furniture-grade plywood, you can stain it instead of covering it.
- A pizza box (for the mail holder)
- Burlap, enough to wrap your board with an inch or two extra on all sides
- Chalkboard contact paper (for the message board insert)
- White wall paint and a brush (for a distressed finish)
- Scissors, a ruler, and glue: Mod Podge for the face, a glue gun for the edges
- A squeegee, old plastic card, or sturdy cardboard (for smoothing the chalkboard liner)
- Optional but recommended: coffee or juice, and music
How to Build Your Mail Center
1. Prep your board
If you are staining real wood, fill cracks and holes with wood putty and sand lightly first. If you are covering it with burlap like I did, you can skip all of that. The burlap hides everything, which is the beauty of this method.
2. Iron and cut the burlap
Iron your burlap flat, then cut it to size using a ruler or a piece of cardboard as a straight edge. Add an inch or two on all sides so you can wrap it around the edges of the board.
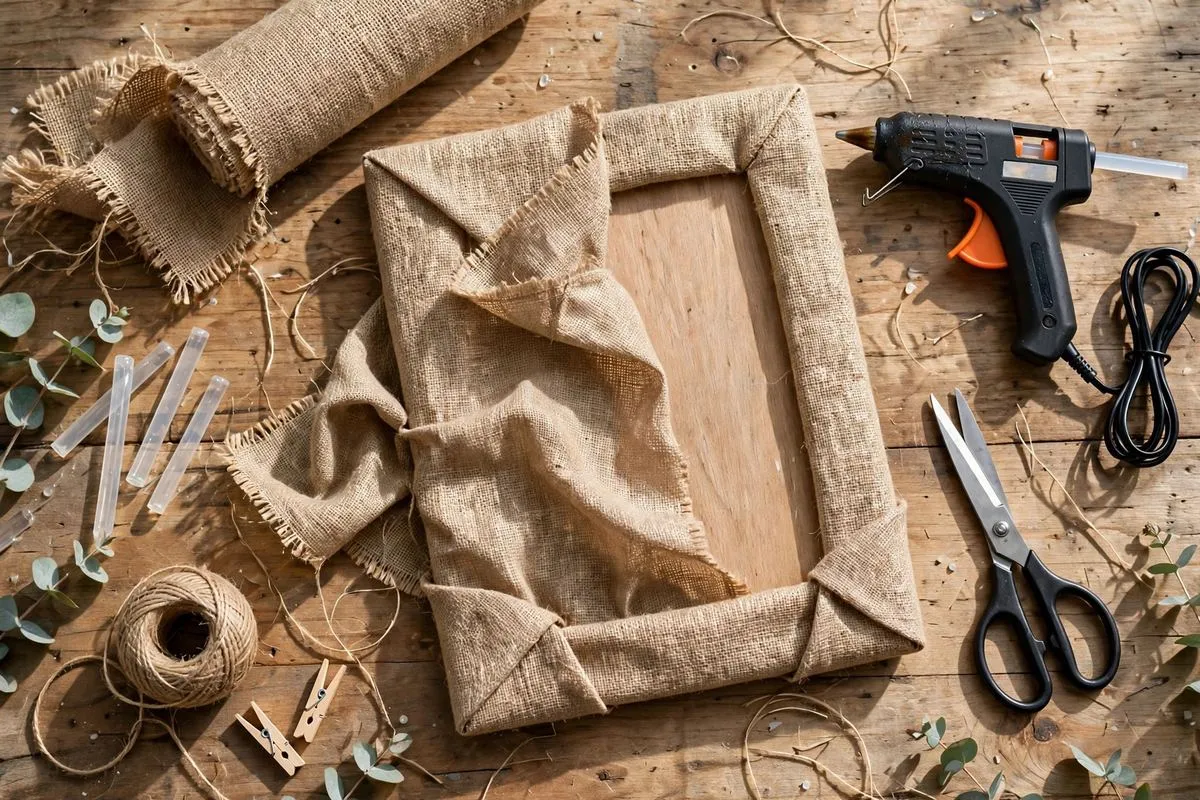
3. Glue the burlap down
Spread Mod Podge on the face of the board and press the burlap on smoothly. Wrap the extra fabric around the edges and secure the sides with a glue gun and a few sticks of glue. Pull it snug as you go so the face stays flat.
4. Add the chalkboard insert
Measure twice, then cut your chalkboard contact paper to fit the center of the board. Peel and stick it on, smoothing with a squeegee (or an old plastic card) as you go to push out air bubbles. This is where you will leave cute messages, reminders, or a grocery list.
5. Distress it with white paint
Once everything is dry, take white wall paint and brush it over the burlap with loose, uneven strokes. You are not painting it solid. You want a worn, distressed look where the burlap texture shows through. Let it dry completely.
6. Make the mail holder from a pizza box
A pizza box is the perfect depth for a slim mail holder: deep enough for envelopes, shallow enough to stay flat against the wall. Cut it to the depth you want, fold it into a pocket shape, and glue it firmly to the lower part of your board. Give the glue a good long time to set. This pocket will hold real weight, so do not rush this step.
7. Hang it up
Mount your mail center on that narrow wall by the front door. Use proper wall anchors if you are not hitting a stud. A level is worth the thirty seconds it takes.
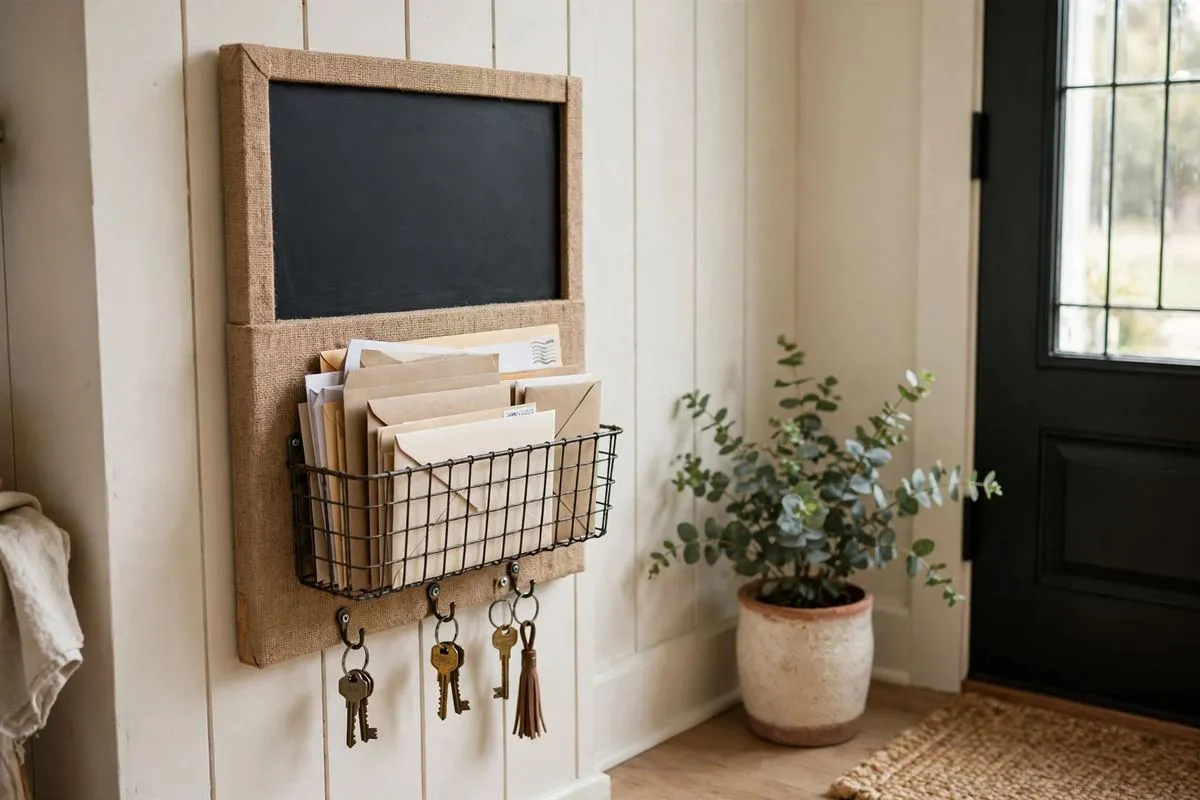
Ways to Make It Your Own
- Add a mirror above or beside the board if you have a small piece. It bounces light into a dark entryway.
- Swap the chalkboard for a painting or collage if you prefer art over notes.
- Add small hooks along the bottom edge for keys. A mail center that also holds keys is twice as useful.
- Try different fabrics. Burlap gives a rustic look, but linen or canvas works for a cleaner style.
Hindsight: What I Would Do Differently
Honestly? I would have stained the cabinet back. The wood underneath was decent, and a stain would have looked richer than the burlap. But the burlap route forgives every flaw, so if your board is rough, painted, or beat up, covering it is the smarter call. Both paths lead to a mail center you will actually use.
FAQs
What if I do not have a cabinet back?
Any flat board works: a piece of plywood, an old drawer front, even a sturdy piece of thick cardboard layered and glued. The method is the same.
Will a pizza box really hold mail?
Yes. Corrugated cardboard is surprisingly strong when glued well and kept dry. Keep it indoors, glue it firmly, and it will hold a week’s worth of mail without complaint.
How do I keep the mail center from becoming clutter itself?
Sort on sight. When you bring mail in, toss the junk immediately and put the rest in the holder. Once a week, empty the holder completely. A mail center only works if things leave it, not just enter it.
Can I hang this in a rental?
Yes, with the right hardware. Use removable adhesive strips rated for the weight, or hang it from an existing nail or hook. The whole thing is light.
Pin this for later! Save this upcycled mail center tutorial to your “Entryway Ideas” or “DIY Organization” board. Your front door deserves better than a pile of envelopes.