Welcome back to our budget kitchen renovation. In part 1, we gutted everything: fixed walls, added support for the upper cabinets, moved some electrical, and ended up with what was basically a whole new empty kitchen. Now came the fun part: the cabinets and appliances. This is the progress we managed, and the lessons we learned buying cabinets without paying megastore prices.
What We Were Starting From
To appreciate the “after,” you need to see the “before” in your mind. Our old kitchen had a refrigerator blocking half the room. The cabinets were moldy, broken MDF. There was a truly ugly random light fixture. The oven sat in the wrong spot, tucked in a corner behind the refrigerator. Doors would not close. Drawers would not open. There was even floor damage. It was the kind of kitchen you avoid cooking in, which defeats the entire purpose of a kitchen.
Finding Cabinets for Less Than Half the Megastore Price
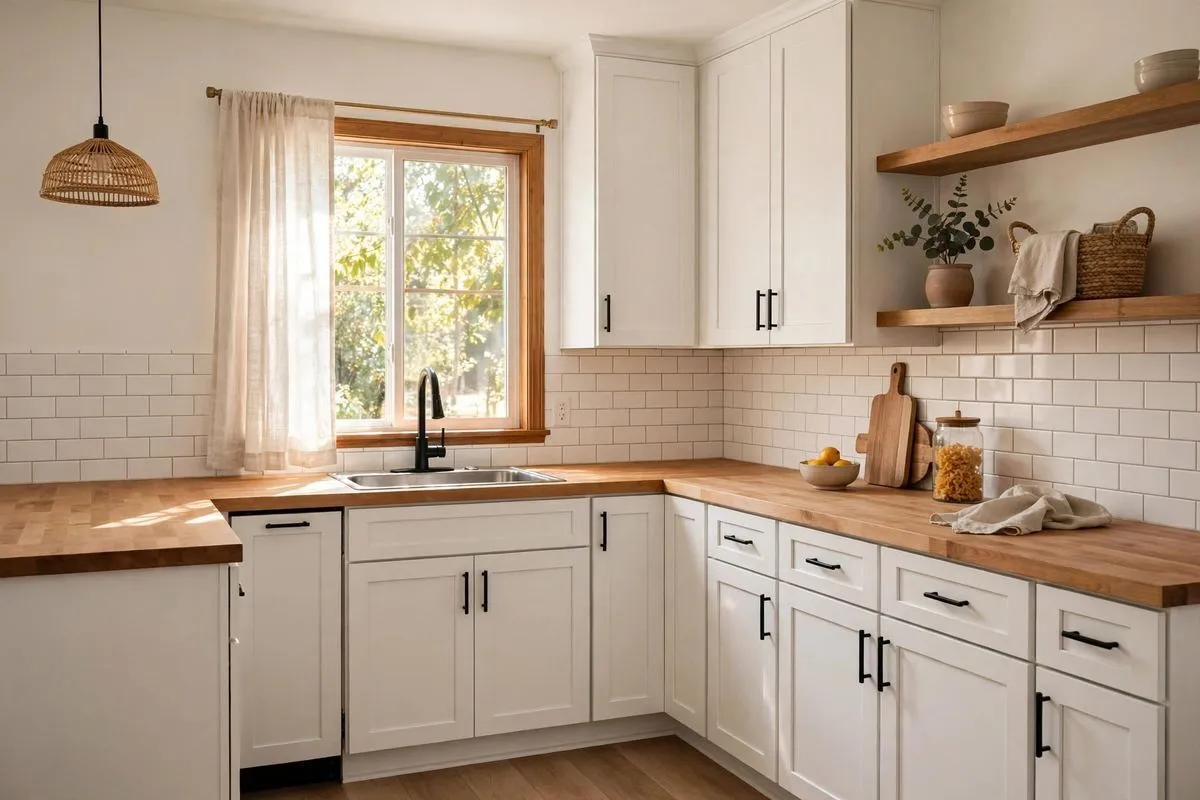
We visited a few home improvement megastores first and left disappointed every time. The styles we liked were either unavailable or priced like luxury goods. So we did what any budget renovator does: we went online. After comparing styles, colors, and quality, we found exactly what we wanted online for less than half of what the megastores were asking.
If you are shopping for cabinets on a budget, here is what the market looks like:
- Stock cabinets come in standard sizes and finishes. Cheapest option, fastest delivery, but you work around their sizes.
- RTA (ready-to-assemble) cabinets ship flat and you put them together. Very budget-friendly, and the assembly is straightforward.
- Semi-custom cabinets give you more sizes and finishes for a middle price.
- Custom cabinets are built for your exact space. Beautiful, but the priciest by far.
We went with an online option that hit the sweet spot: the style and quality we wanted, at a price the megastores could not touch.
Cabinet Materials: What Your Money Buys
- Plywood: strong, holds screws well, resists moisture better than the alternatives. The best value for a kitchen that gets daily use.
- Solid wood: beautiful and durable, but the most expensive. Often used for doors and drawer fronts rather than whole boxes.
- MDF: smooth surface that paints well, but it swells if water gets in. Our old moldy MDF cabinets taught us this lesson the hard way.
- Particle board: the cheapest, and the weakest. Fine for low-stress areas, risky near sinks and dishwashers.
The Measurement Tip That Saved Our Renovation
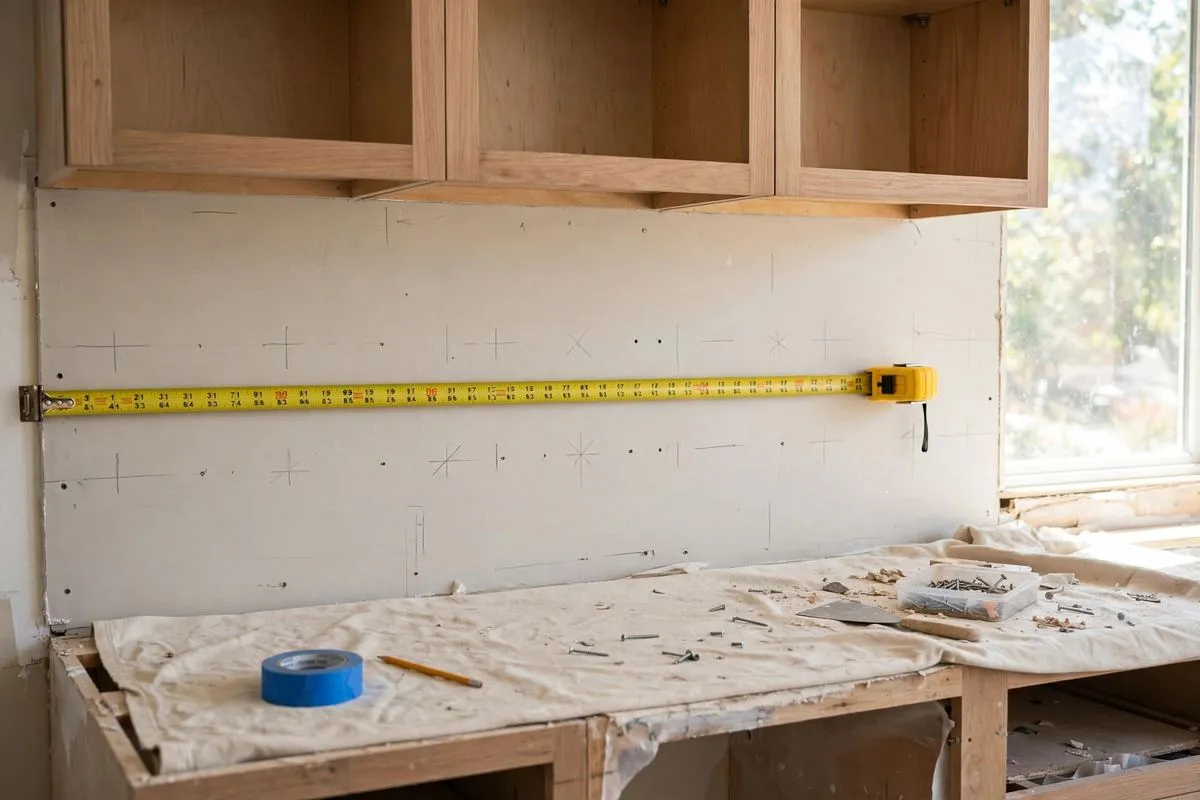
Here is the single most useful thing we learned, courtesy of my father-in-law, a master carpenter who made sure our cabinets ended up “true and plumb”: measure your walls at different heights.
Measure at the bottom and the top of where your cabinets will sit, for both upper and lower cabinets. Walls are almost never perfectly vertical. I innocently assumed ours were, and a single inch of difference can be a real problem when you are fitting wall-to-wall cabinets with no room for gaps. Measure twice at every height, write it all down, and order with the smallest measurement in mind.
Installing the Cabinets
Getting the cabinets installed was a small diplomatic victory on my part (it took some persuading to get my husband on board with DIY installation). My mother-in-law applied her own diplomatic skills to my father-in-law, and once the team was assembled, the installation went quickly.
A few things that mattered:
- Upper cabinets need real support. We added blocking in the walls before hanging anything. Cabinets full of dishes are heavy.
- Get them level and plumb. A cabinet that looks straight but is not will haunt you every time a door swings wrong. Use a level on every single box.
- Start with the uppers. Installing upper cabinets first means you are not leaning over the base cabinets while you work.
- Shim where needed. Because walls are not perfect (see above), shims are how you make imperfect walls meet perfect cabinets.
How We Kept the Budget Under Control
- Bought online instead of the megastores and paid less than half for the style and quality we wanted.
- Installed them ourselves with family help instead of paying for labor.
- Timed the purchase with sales. Kitchen product prices tend to dip in January and February, so patience pays.
- Kept the layout simple. Every corner cabinet and pull-out adds cost. A straightforward layout with standard boxes stretches your budget furthest.
- Considered refacing first. If your cabinet boxes are solid, new doors and drawer fronts alone can transform a kitchen for a fraction of replacement cost. Ours were moldy MDF, so replacement was the only option, but it is worth checking.
FAQs
Is it really cheaper to buy kitchen cabinets online?
In our experience, yes, dramatically. We paid less than half the megastore price for the style and quality we wanted. Just read reviews, double-check every measurement, and confirm the return policy before you order.
Should I choose RTA cabinets to save money?
RTA cabinets are one of the best budget moves in a kitchen renovation. They cost less to ship and buy, and assembly is manageable with basic tools. The savings versus pre-assembled boxes are significant.
What is the biggest measuring mistake?
Measuring the wall once at one height. Walls lean. Measure at the top and bottom of the cabinet run and use the smaller number. An inch of surprise is all it takes to ruin a wall-to-wall fit.
Can I install kitchen cabinets myself?
Yes, with patience and a second pair of hands. The critical skills are finding studs, getting boxes level and plumb, and securing uppers properly. If any of that feels beyond you, hire a pro for the installation and still save by buying the cabinets yourself.
Pin this for later! Save this budget cabinet guide to your “Kitchen Renovation” or “Home Improvement” board. Your future self, mid-renovation, will thank you.