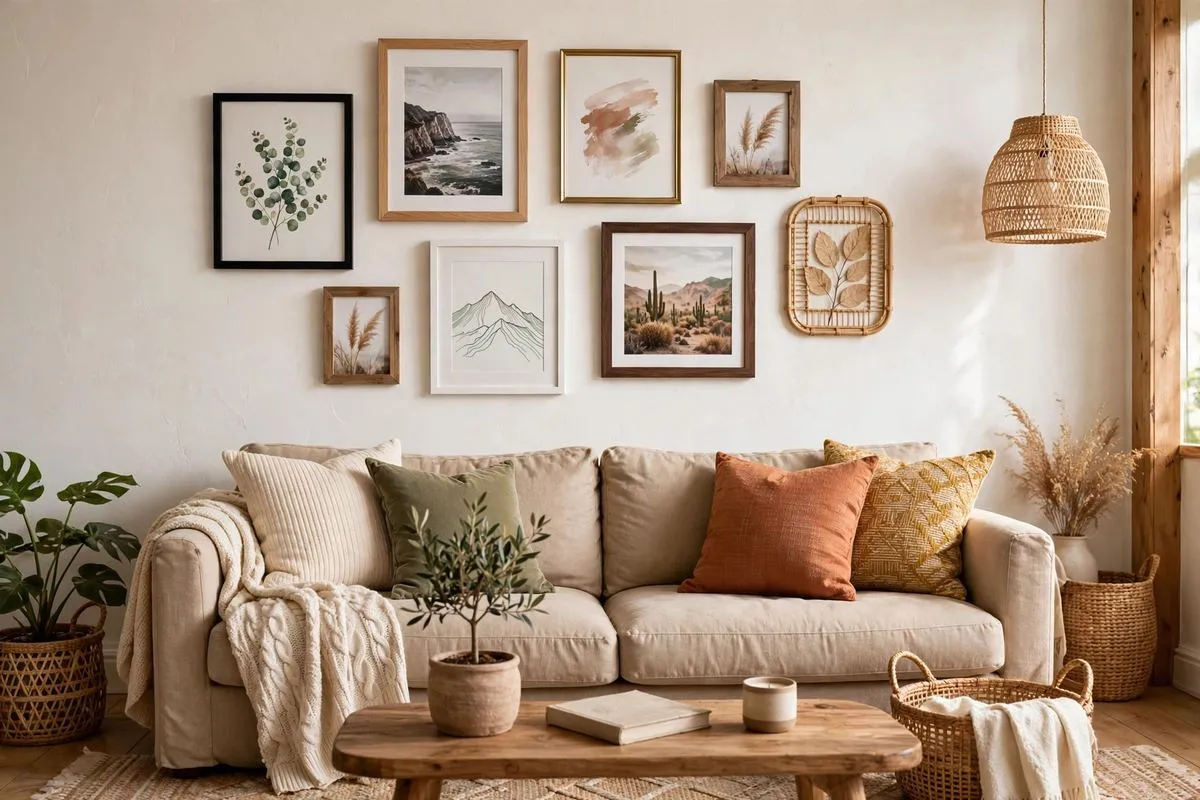
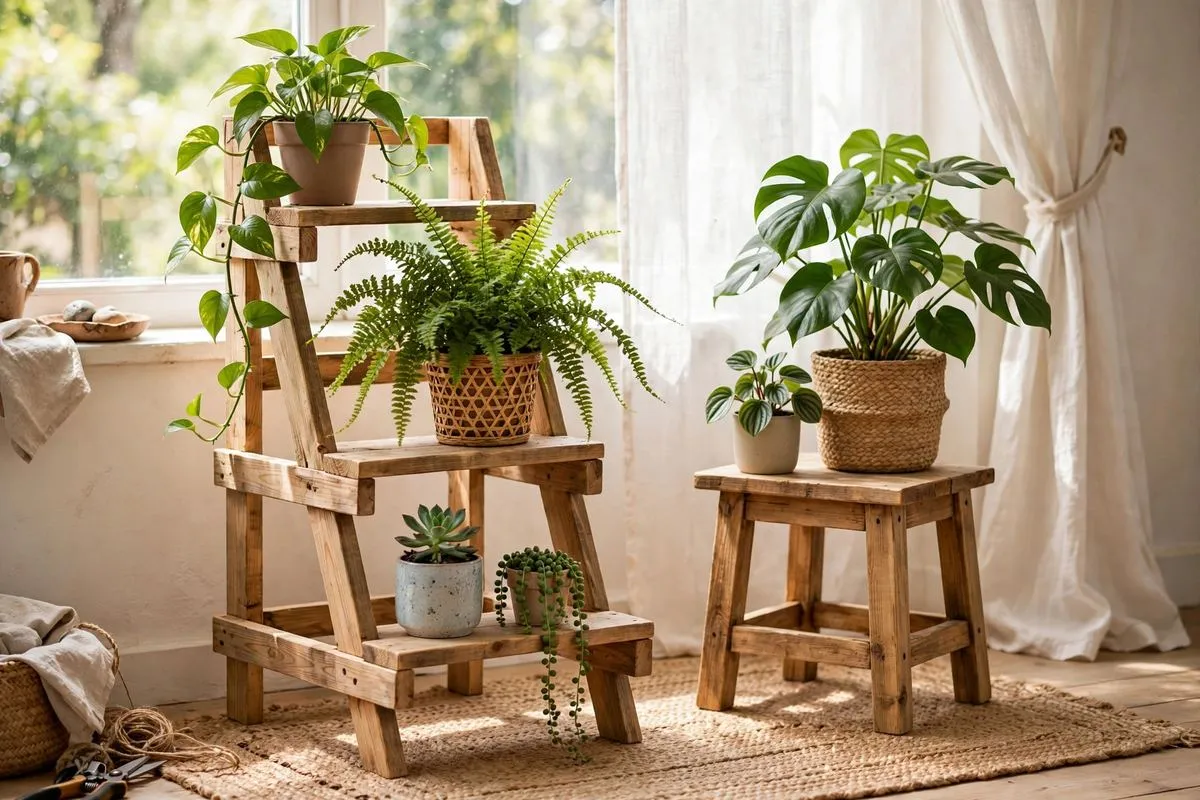
You know that moment: you bring home a beautiful new plant, and it arrives in the saddest thin plastic pot imaginable. You do not want to repot it yet (the plant is still settling in), but you also do not want that ugly pot sitting on your shelf for weeks.
I ran into this exact problem years ago while painting my mom’s kitchen a spicy, sunny yellow. I wanted a living plant to finish the room, found the perfect one, then stared at its plain plastic pot thinking: this needs a cover, fast. I had a scrap of adhesive shelf liner left over from lining the cabinets, and it turned out to be exactly the right size. Ten minutes later, I had a cachepot.
What Is a Cachepot, Anyway?
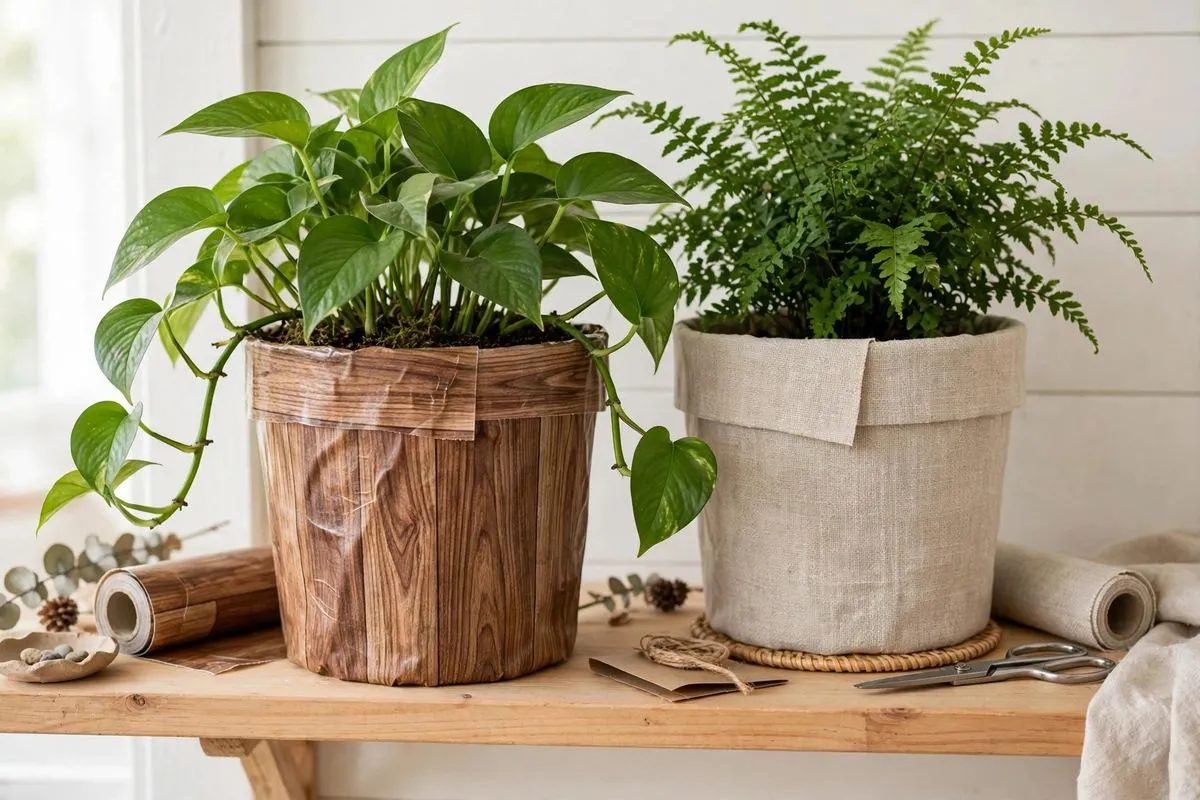
A cachepot (from the French cacher, to hide) is simply a decorative cover that hides a plain plant pot. The plant stays in its nursery pot, drainage holes and all. You just slip the whole thing inside the pretty cover. No repotting, no mess, no stress for the plant.
That last part matters more than people think. Repotting a plant right after bringing it home can shock it. A cachepot lets you style your plant on day one while it adjusts to its new home. When you are finally ready to repot, the cover still works with the new pot.
Why Shelf Liners Work So Well for This
Adhesive shelf liners, the contact-paper kind, are almost made for this job:
- They come in endless patterns: wood grain, marble, linen textures, bold prints
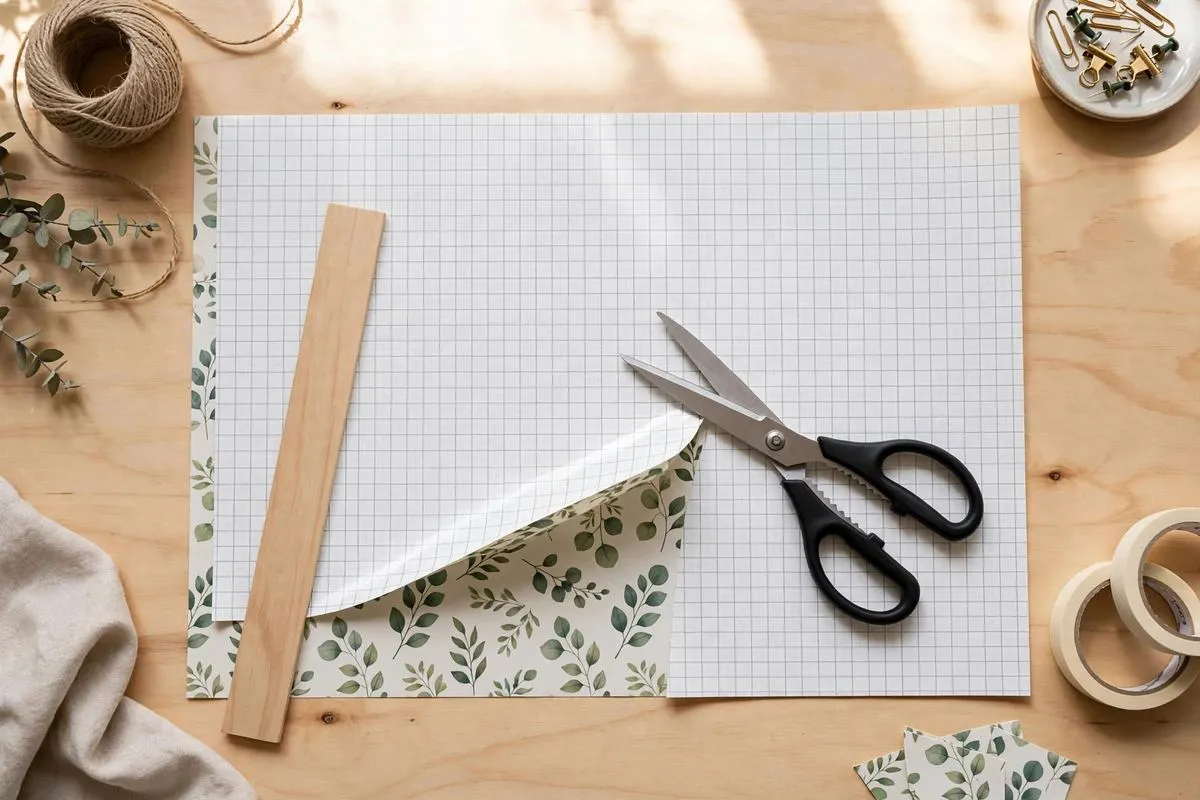
- The backing has grid lines, so cutting straight is easy
- They wipe clean, so water splashes do not ruin them
- A single roll covers many pots, and scraps work perfectly for small ones
- Peel-and-stick means no glue, no sewing, no special tools
What You Need
- Adhesive shelf liner (a scrap is enough for one small pot)
- Scissors
- A ruler or measuring tape
- Your plant, still in its plastic nursery pot
- Optional: a rolling pin or bottle for smoothing
How to Make a Cachepot from Shelf Liner
1. Measure and cut the height
Measure the height of your plastic pot and add 2 inches. That extra gives you material to fold over at the top and bottom, which creates a clean finished lip and keeps the cover standing stiff instead of floppy.
2. Measure and cut the width
Measure around the pot (the circumference) and add 1 inch. That extra inch is what you will use to close the tube.
3. Cut your rectangle
Cut the rectangle using the grid lines on the liner backing to keep it straight. Do not stress about perfect cuts. The folded lips will hide small wobbles.
4. Fold the lips
Fold over the extra height at the top and bottom. Peel the backing paper off just the folded part and stick it down. The grid lines help here too.
5. Roll it into a tube
Roll the liner into a cylinder. A rolling pin, a bottle, or even the liner roll itself helps you get a neat shape instead of a lopsided one.
6. Close the seam
Peel the backing off your extra inch and press the tube closed. If the seam will face a wall, you can cheat with a piece of tape on the inside instead and skip the fiddly sticking.
7. Drop in your plant
Slip the potted plant inside. Done. Ten minutes, zero dollars if you used scraps.
Make a Set of Three (It Looks Styled, Not Crafty)
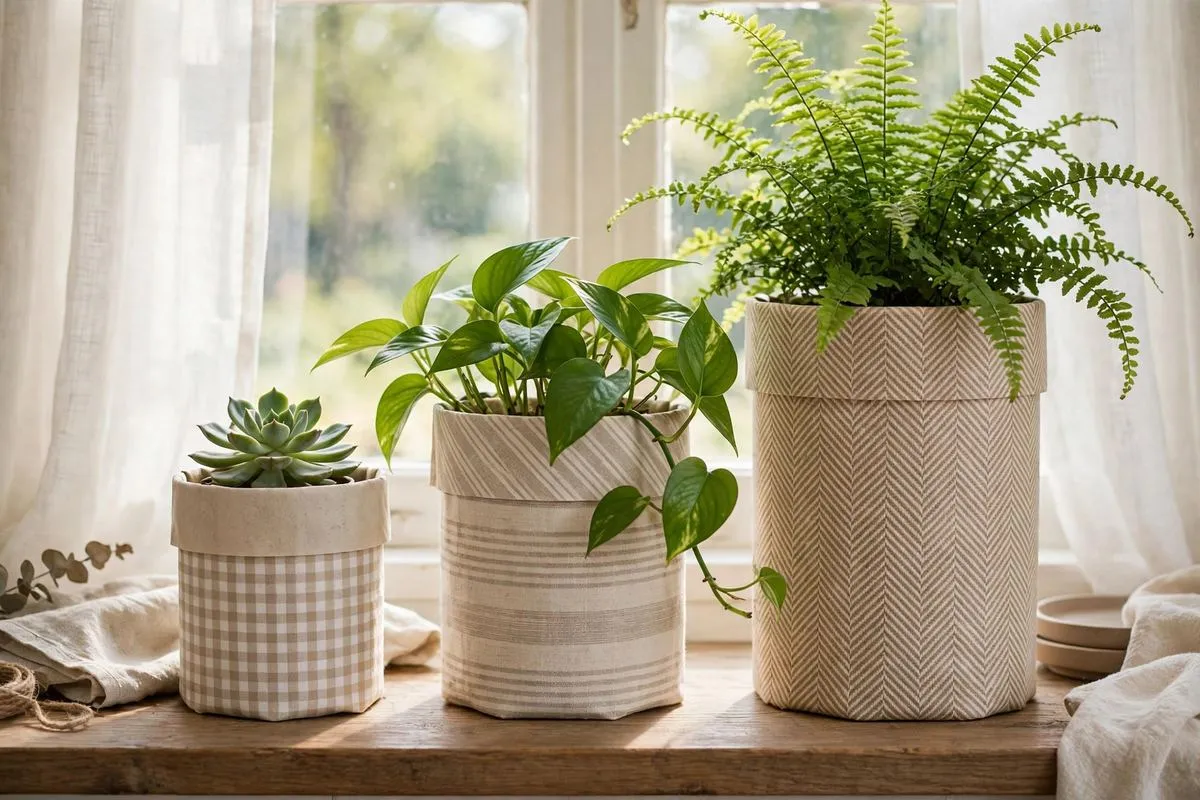
One cachepot looks good. Three in graduated heights look intentional. Cut your liners at different heights, say 4, 5, and 6 inches tall, and group them on a shelf or windowsill. Mixed patterns in the same color family look pulled together without matching exactly. This is the trick that takes the project from “I covered an ugly pot” to “I styled a vignette.”
The One Watering Rule That Matters
A shelf-liner cachepot has no drainage holes, which is fine because your plant is still in its nursery pot. When it is time to water, lift the nursery pot out, water it in the sink, let it drain fully, then slip it back in. Never water while the pot sits inside the cover, or water will pool at the bottom and you will get soggy roots and a ruined cover.
Pattern Ideas That Always Work
- Wood grain for a warm, natural look that suits almost any plant
- White marble for a clean modern shelf
- Black and white patterns for contrast against green leaves
- Linen texture for a soft neutral that goes with everything
FAQs
Will the adhesive damage my pot?
The liner sticks to itself, not to your pot, so the plastic pot underneath stays untouched. When you are done with the cover, peel it off and recycle it.
How long does a shelf-liner cachepot last?
Indoors, away from harsh direct sun, it holds up for a year or more. When it starts looking tired, peel it off and make a fresh one in ten minutes.
Can I make one for a big pot?
Yes. Buy a wider roll and use the same method. The steps scale up exactly the same way.
Is it waterproof?
The vinyl surface wipes clean and shrugs off splashes, but this is a cover, not a planter. Always drain your plant fully before putting it back inside.
Pin this for later! Save this 10-minute cachepot tutorial to your “Plant Decor” or “DIY Home” board. Your next grocery-store plant will thank you.