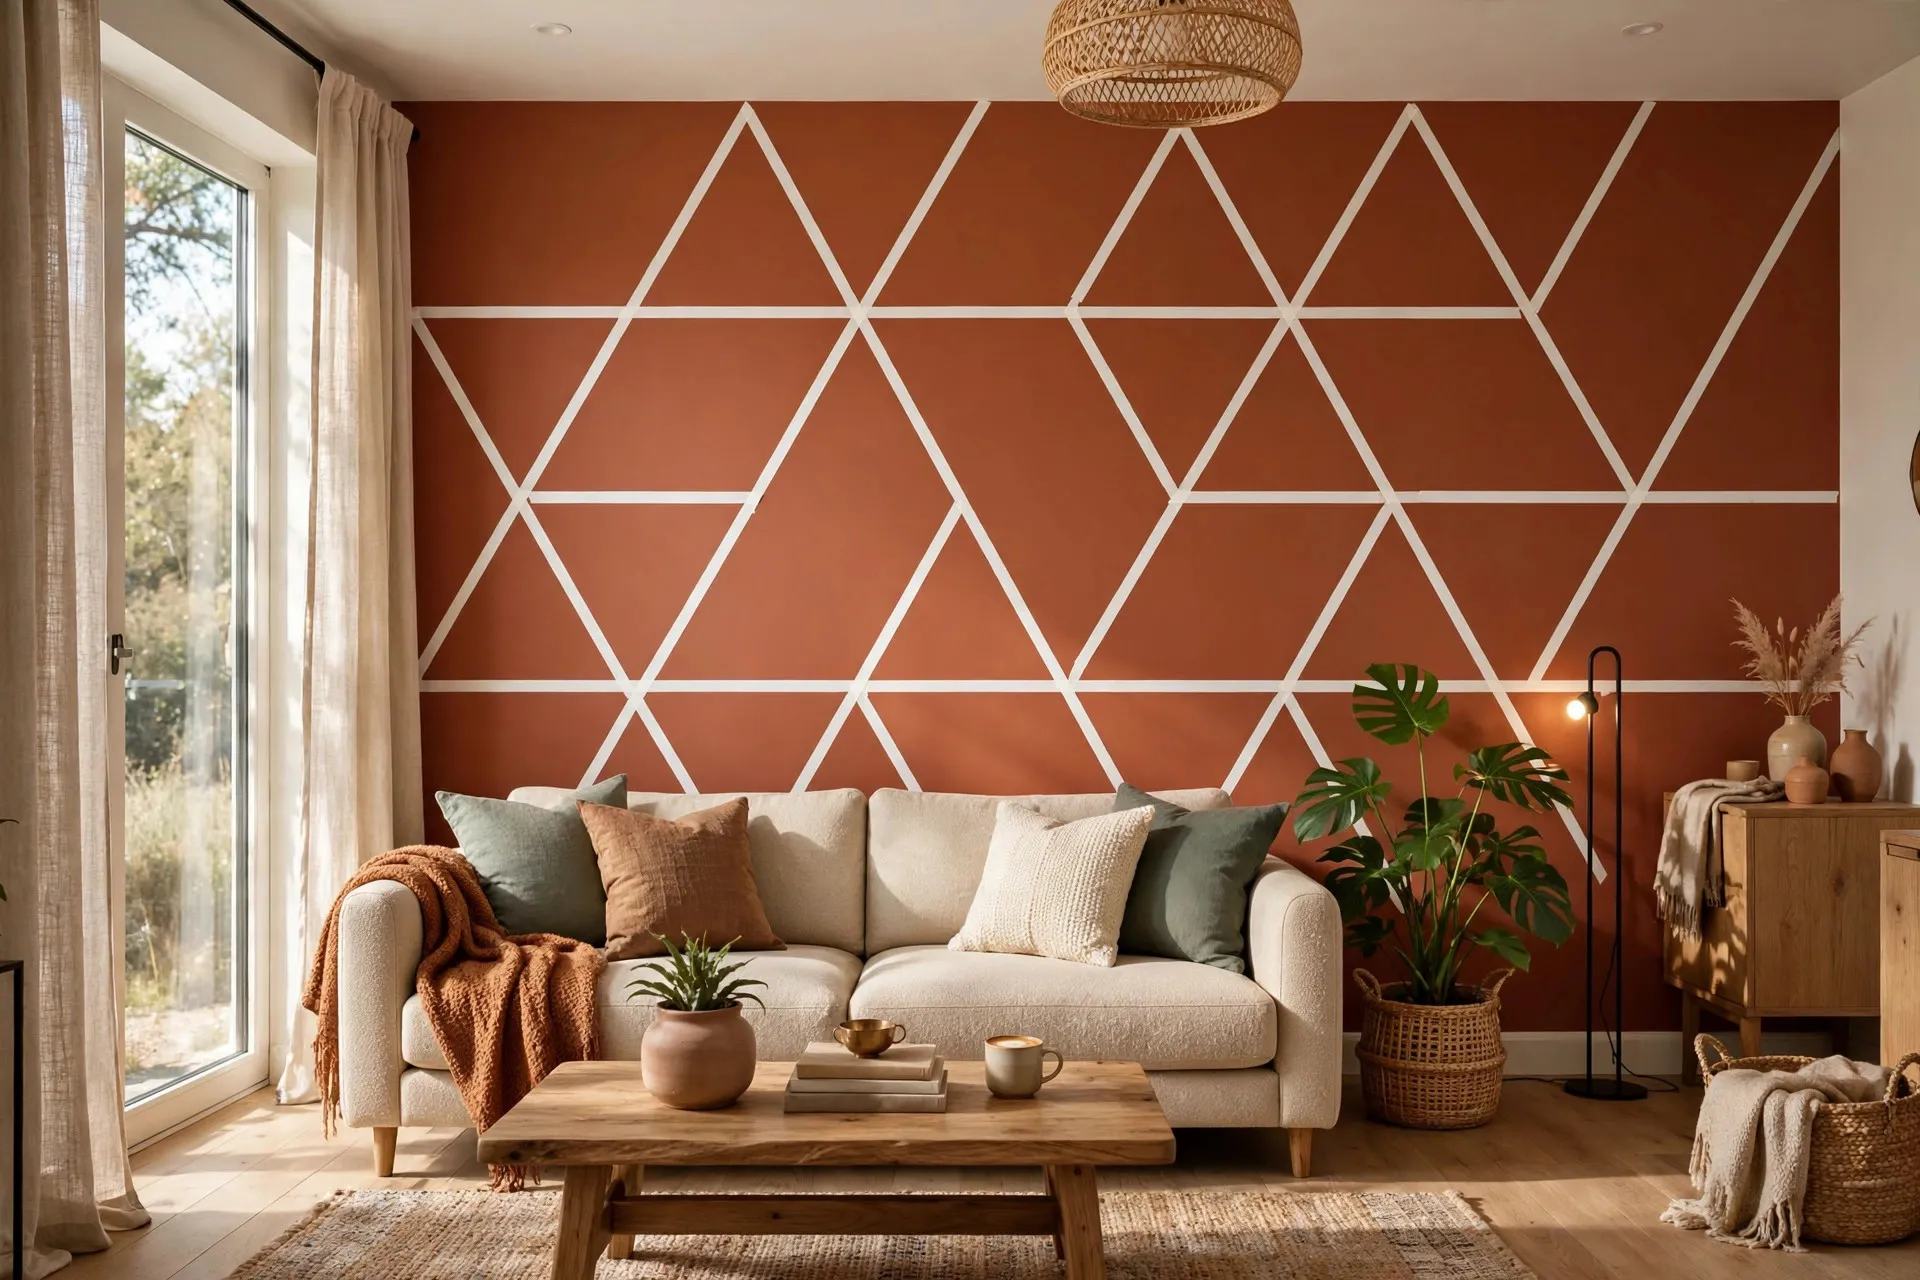
What if I told you the boldest wall in your home could be finished before your coffee goes cold? No paint cans, no brushes, no landlord drama, just a roll of electrical tape and fifteen minutes. This renter-friendly accent wall trick gives you a graphic, geometric feature wall that peels off clean whenever you want a change.
I stumbled onto this idea when my freshly painted living room wall looked plain. One shade darker than the rest, and somehow still boring. I wanted something bolder than framed art but gentler than a full repaint. A roll of white electrical tape later, I had a statement wall, and I have redone it three times since, just because I can.
Why Electrical Tape Is Perfect for Accent Walls
Electrical tape sounds odd until you try it. Here’s why it beats paint for accent wall ideas on a budget:
- It’s fast. Most designs take 15 to 30 minutes, not a weekend.
- It’s cheap. A roll costs a couple of dollars and covers a whole wall.
- It’s forgiving. Crooked line? Peel it off and re-stick. Try doing that with paint.
- It’s renter-friendly. It removes cleanly without damaging paint underneath, perfect for apartments and dorms.
- It’s changeable. Bored of the pattern? Peel and redesign in minutes.
The slight sheen of the tape catches light beautifully, giving your geometric accent wall a subtle dimension that flat paint can’t match.
What You’ll Need
- Electrical tape (white shows up best on colored walls; black is stunning on white walls)
- Scissors or a craft knife
- A level or a measuring tape (for straight lines)
- A pencil for lightly marking guides
- A step stool for high spots
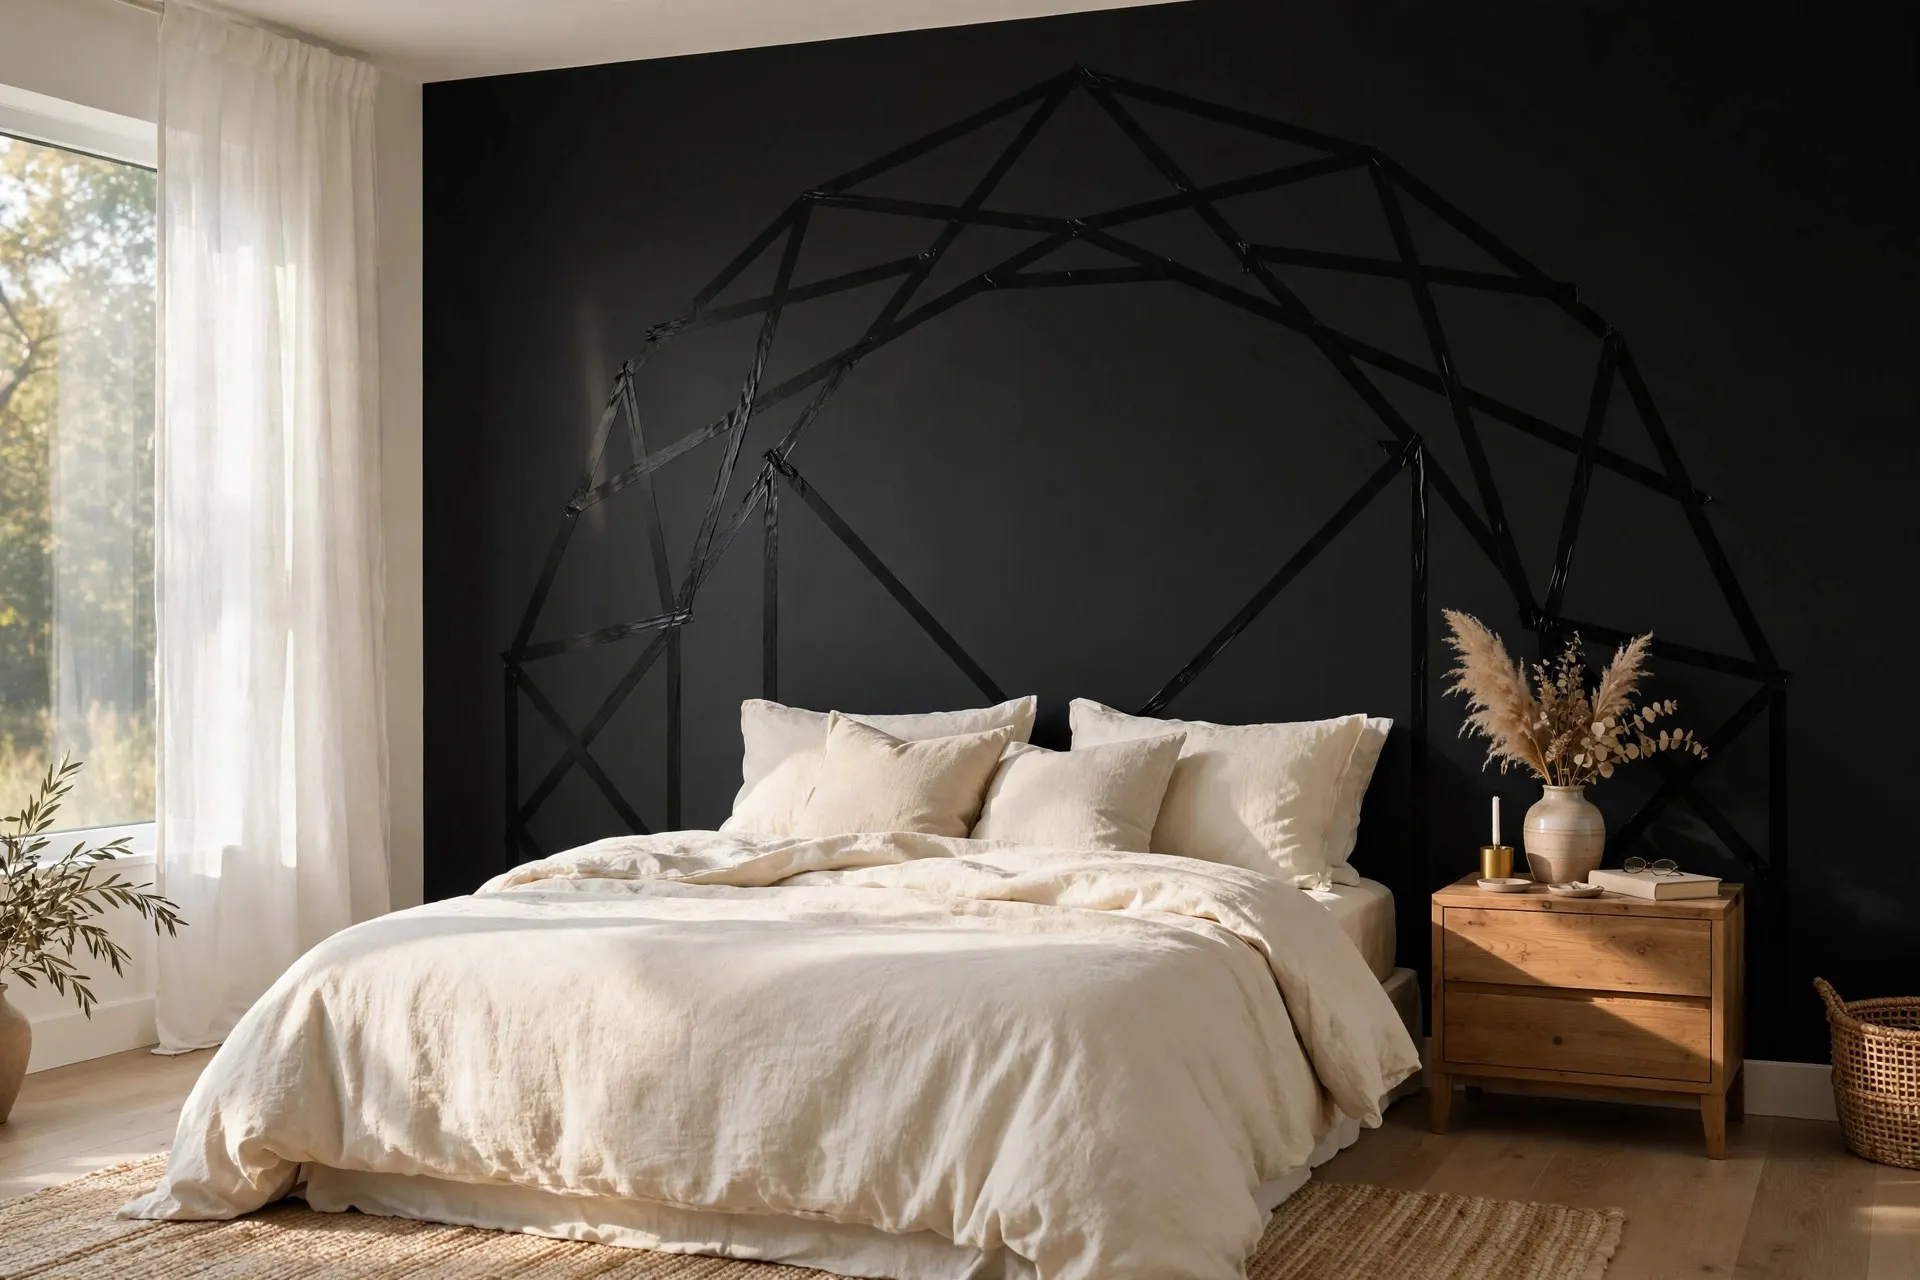
Which tape color? White tape on a sage, navy, or terracotta wall is classic. Black tape on a white wall looks modern and graphic. For 2026’s rich, moody color trends, try black tape over deep green or charcoal.
How to Make an Electrical Tape Accent Wall (Step by Step)
Step 1: Plan your pattern
Sketch your design on paper first, or mark light pencil guides directly on the wall. Simple geometric patterns (triangles, chevrons, oversized grids) look the most high-end and are the easiest to tape. Pro tip: snap a photo of your wall and doodle the pattern over it on your phone before you start.
Step 2: Start from a corner
Begin at one edge of the wall and work outward. Press the first few inches of tape down firmly, then unroll as you go, smoothing with your palm. Keep gentle tension so the tape lies flat without stretching.
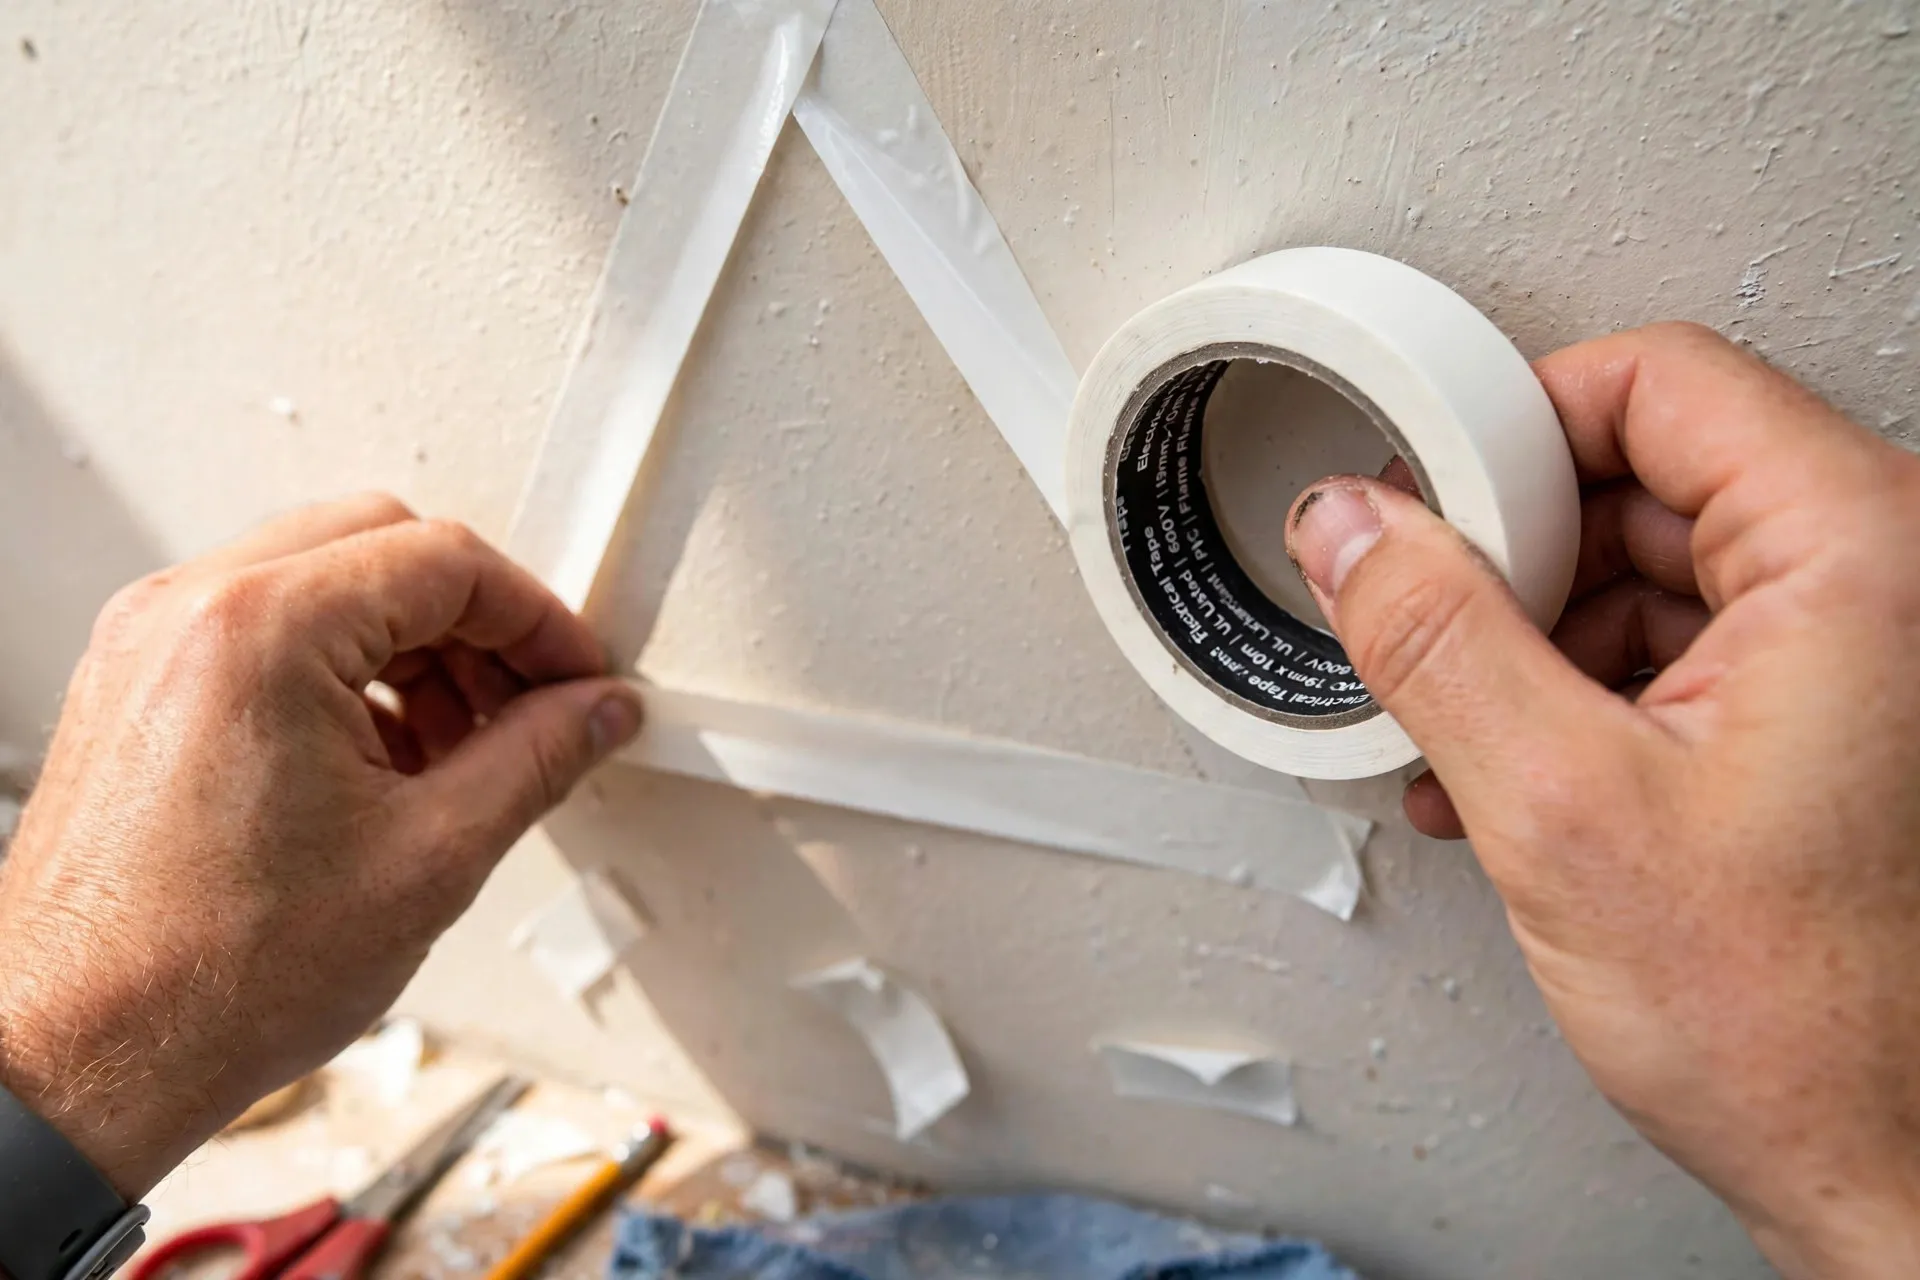
Step 3: Build your shapes
For triangles and diamonds, lay down the outline first, then fill in inner lines. Overlap tape ends slightly at corners. The overlap disappears visually once the whole pattern is up. Tear or cut the tape at the end of each line rather than stretching it around corners.
Step 4: Check from across the room
Step back every few minutes. Patterns that look perfect up close can drift off-center at full scale. This is the step most people skip. Don’t.
Step 5: Secure the edges
Run your fingernail firmly along every tape edge. This “burnishing” is the secret to crisp lines and keeps edges from curling over time.
Step 6: Style and photograph
Style the wall with a plant, a chair, or leaning art, then take your photos. (And yes, pin them. This is exactly the kind of DIY home decor that blows up on Pinterest.)
5 Accent Wall Design Ideas to Try
1. Oversized triangles. The classic, bold, modern, impossible to mess up. Vary triangle sizes for a more organic feel.
2. Pinstripes. Vertical tape stripes make low ceilings feel taller; horizontal stripes widen narrow rooms.
3. Color-blocked arch. Tape out a large arch shape behind a bed or reading chair, then fill inside the arch with a second tape color. Very 2026.
4. Chevron rows. Repeating chevrons read playful in kids’ rooms and chic in hallways.
5. Picture-frame molding look. Tape large rectangles in a grid to fake expensive wall paneling. From across the room, guests will never guess it’s tape.
Tips for Crisp, Clean Lines
- Don’t stretch the tape as you apply it. Stretched tape shrinks back and curls.
- Work in a cool room; heat softens the adhesive and makes repositioning messy.
- For long straight lines, have someone hold the roll while you smooth.
- Keep patterns large. Tiny detailed designs curl faster and read as busy.
- Dust the wall first. Tape sticks best to clean, dry paint.
Is It Really Renter-Friendly? How to Remove It
Yes, that’s the whole point. To remove, warm a section with a hairdryer for 10 seconds and peel slowly at a low angle. Any faint adhesive residue wipes off with a damp cloth and a drop of dish soap. I’ve removed three designs from the same wall with zero paint damage. (Test a hidden spot first if your paint is very old or matte.)
FAQs
How long does an electrical tape accent wall last?
Months to years indoors. Keep it out of direct steamy bathrooms. Humidity is the enemy of adhesive.
Will electrical tape damage my wall paint?
On cured latex paint (painted 30+ days ago), it peels off cleanly. On fresh paint or flat/matte finishes, test first.
Can I use washi tape instead?
You can, but washi is thinner and curls faster. Electrical tape’s slight stretch and strong adhesive make it the better pick for big geometric designs.
What wall color works best?
High contrast wins: white tape on dark walls, black tape on light walls. For a softer look, match the tape color family to your decor. Cream tape on beige walls looks quietly elegant.
Pin this for later! Saving this tutorial to your “Accent Wall Ideas” or “DIY Home Decor” board means you’ll find it right when you’re ready to transform that boring wall.